Black & White vs Colour: How to Know Which Tells the Better Story
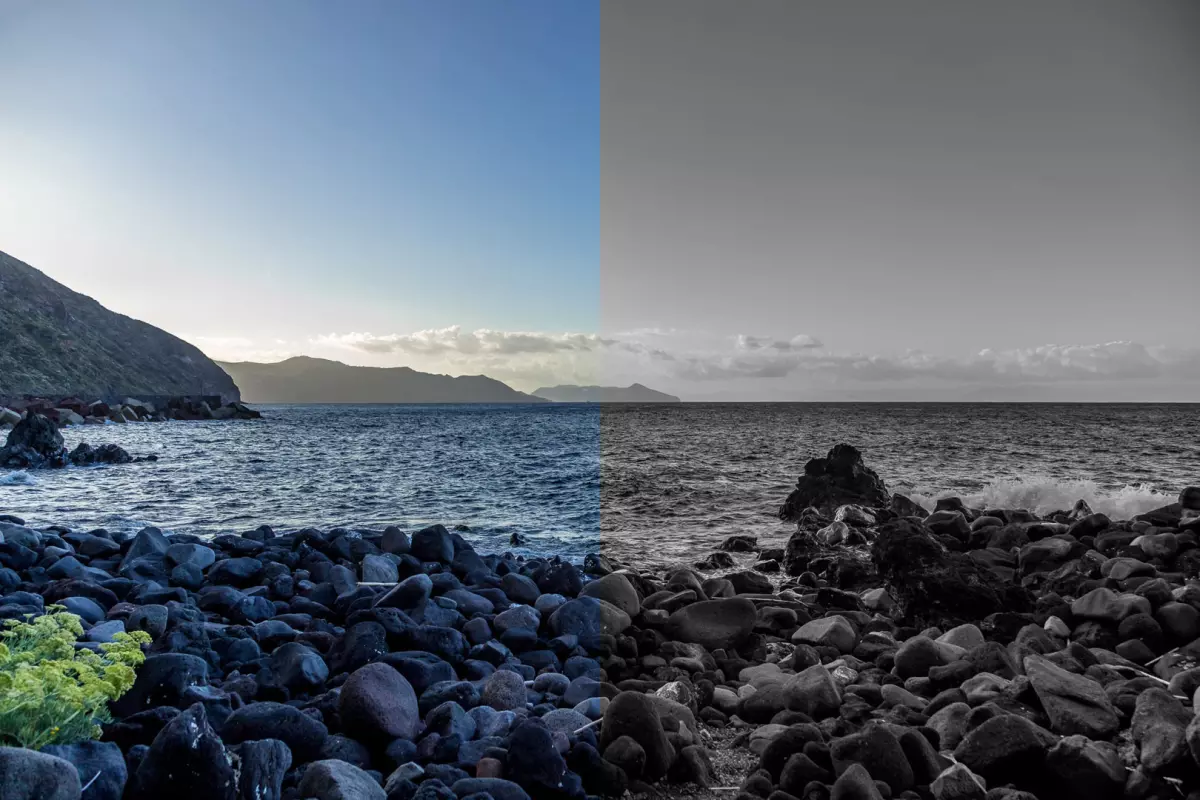
Great images begin with intent. Strip away colour and you reveal form, light, and emotion. Keep the...
What if I told you I shoot entirely in black and white, then convert to colour later? Not for artistic reasons, but because I'm colourblind. Here's how a visual limitation became a workflow that makes me a better photographer, and why sometimes seeing less helps you capture more.

Si vous m’avez déjà regardé travailler, vous avez peut-être remarqué quelque chose d’étrange : le viseur de mon appareil photo affiche tout en noir et blanc. Ce n’est pas parce que je recherche une ambiance artistique ou que j’essaie d’être différente, c’est parce que je ne peux littéralement pas voir les couleurs correctement.
Et cela a fait de moi un meilleur photographe.
Je suis gravement myope (environ -8 dans les deux yeux, si cela vous dit quelque chose) et astigmate. Mais le vrai kicker ? Il me manque des cônes récepteurs de couleur. J’ai du mal à distinguer le rouge du vert du brun, le blanc du gris du rose, le violet du noir. Les couleurs très sombres sont presque impossibles à distinguer pour moi. Les couleurs néon que je peux généralement repérer et identifier correctement, mais c’est à peu près là que s’arrête la fiabilité de ma vision des couleurs.
Pendant la majeure partie de la vie, vous vous adaptez. Vous apprenez des solutions de contournement, vous savez que l’herbe est principalement verte et que le ciel est principalement bleu. Mais la photographie ? C’est un support visuel où la couleur compte. Beaucoup.
La déficience de la vision des couleurs (souvent appelée daltonisme) touche environ 1 homme sur 12 et 1 femme sur 200. Il est généralement génétique et se produit lorsque les cellules coniques de détection de la couleur de l’œil sont manquantes ou ne fonctionnent pas correctement.
Les formes les plus courantes impliquent une difficulté à distinguer les rouges et les verts, bien qu’il en existe plusieurs types. Il ne s’agit pas de voir en noir et blanc (c’est extrêmement rare) - c’est plutôt comme si certaines couleurs semblaient boueuses, similaires ou moins vibrantes pour les personnes ayant une vision complète des couleurs.
Pour les photographes ayant une déficience de la vision des couleurs, les défis sont les suivants : juger de la balance des blancs précise, distinguer les différences de couleur subtiles, modifier les tons chair et repérer la mise au point dans des situations à faible contraste.
Quand j’ai commencé la photographie, c’était du film 35 mm. Le numérique n’existait pas. Ces vieux appareils photo reflex avaient des viseurs optiques ; Vous regardiez littéralement à travers l’objectif, à travers quelques miroirs, le monde réel. Il ressemblait exactement à ce que j’avais l’habitude de voir de mes propres yeux.
Difficile? Oui. Mais gérable. Puis est venu le numérique. Et en particulier les appareils photo sans miroir.
Avec mon Canon R6 et son viseur électronique, je n’avais soudainement plus à regarder le monde réel. Je regardais un aperçu numérique de ce que le capteur capturait sur un écran. Et cet aperçu numérique, avec toutes ses informations sur les couleurs, effaçait absolument le contraste que j’avais besoin de voir.
Le tournant s’est produit lors d’une fête sur le thème du disco il y a quelques années. Des lumières colorées changeant follement partout - rouges, verts, bleus, stroboscopiques et changeant constamment. Je n’arrivais pas à faire la mise au point avec l’appareil photo. Pour moi, l’image dans le viseur était délavée, sans aucun élément contrasté sur lequel se verrouiller.
J’ai opté pour un réglage que j’utilise souvent dans des situations de faible luminosité : le mode viseur noir et blanc. Tout s’est soudainement mis au point. Littéralement.
Le chaos coloré a disparu. Le contraste est apparu et j’ai pu cadrer correctement les photos.
Mon flux de travail est simple, mais il a fallu un peu de mise en place (attention, cette partie est un peu geek !). 🤓 Cliquez ici pour passer à l’étape suivante.
Je prends des photos en RAW (toujours) et j’utilise le profil photo Faithful de Canon. Pour ceux qui ne le savent pas, Canon le décrit ainsi :
Le profil Faithful est conçu pour reproduire fidèlement les couleurs réelles des sujets, mesurées à la lumière du jour à une température de couleur de 5200K. Les images conservent des couleurs extrêmement proches de ce que l’œil nu voit, minimisant les décalages de couleurs et rendant les tons neutres.
Fondamentalement, il s’agit d’un profil plat et neutre, sans netteté artificielle ni coloration vive. Il utilise une approche colorimétrique pour faire correspondre les couleurs avec précision à la lumière du jour standard, plutôt que d’essayer de rendre les choses « belles » à l’appareil photo.
J’utilise également la priorité aux blancs pour la balance des blancs automatique. Contrairement à la priorité d’ambiance par défaut (qui maintient l’éclairage chaud au tungstène), la priorité aux blancs corrige agressivement les dominantes de couleur pour rendre les blancs en blanc pur. Ceci est crucial pour les événements avec des sujets, des éclairages et des arrière-plans en constante évolution.
Dans le viseur et sur l’écran arrière, tout apparaît en noir et blanc. Pas de distractions de couleur. Juste du contraste, des tons et une composition purs.
Je peux vraiment voir ce que je fais. Je repère les contrastes qui comptent. Je cadre correctement les photos. Je juge l’exposition avec plus de précision. L’éclairage devient clair - là où il est trop lumineux, là où il fait trop sombre, là où les ombres tombent.
Plus tard, dans Lightroom Classic, je convertis tout en couleurs « réalistes ». Les fichiers RAW contiennent toutes les informations sur les couleurs - je ne les regardais tout simplement pas pendant la prise de vue. Le profil Faithful et la balance des blancs avec priorité aux blancs signifient que les couleurs sont déjà capturées avec précision. Je les révèle juste en post-production.
Les tons de peau sont naturels. Les couleurs sont précises. La balance des blancs est parfaite (parce que l’appareil photo s’en charge pour moi).
Paramètres techniques pour les utilisateurs d’appareils photo hybrides Canon, si vous souhaitez essayer des éléments de ce flux de travail :
Style d’image : Menu → Prise de vue → Style d’image → Fidèle
Balance des blancs : Menu → Prise de vue → Balance des blancs → AWB (priorité aux blancs)
Affichage du viseur : menu → affichage → l’affichage du viseur → monochrome
N’oubliez pas : ce flux de travail fonctionne pour moi en raison de ma déficience de vision des couleurs. Si vous avez une vision normale des couleurs, la prise de vue en couleur peut vous convenir mieux.
La plupart des gens sont très surpris quand ils le remarquent. Ils regardent l’écran de mon appareil photo en s’attendant à voir de la couleur et trouvent du noir et blanc à la place.
Mais une fois que j’explique le daltonisme, comment mieux voir les contrastes, comment ignorer les distractions, ils comprennent. Et ils sont toujours satisfaits du résultat final, c’est ce qui compte vraiment.
Ma fille de dix ans trouve cela très étrange aussi. Parfois, lorsque nous allons au zoo ou que nous tournons ensemble, je la laisse utiliser l’un de mes appareils photo avec un objectif plus léger. Si j’oublie de le remettre en mode couleur avant de le remettre, elle me demande immédiatement de la couleur. Elle comprend pourquoi je le fais, mais elle préfère vraiment voir le monde en couleur. Je ne peux pas lui en vouloir.
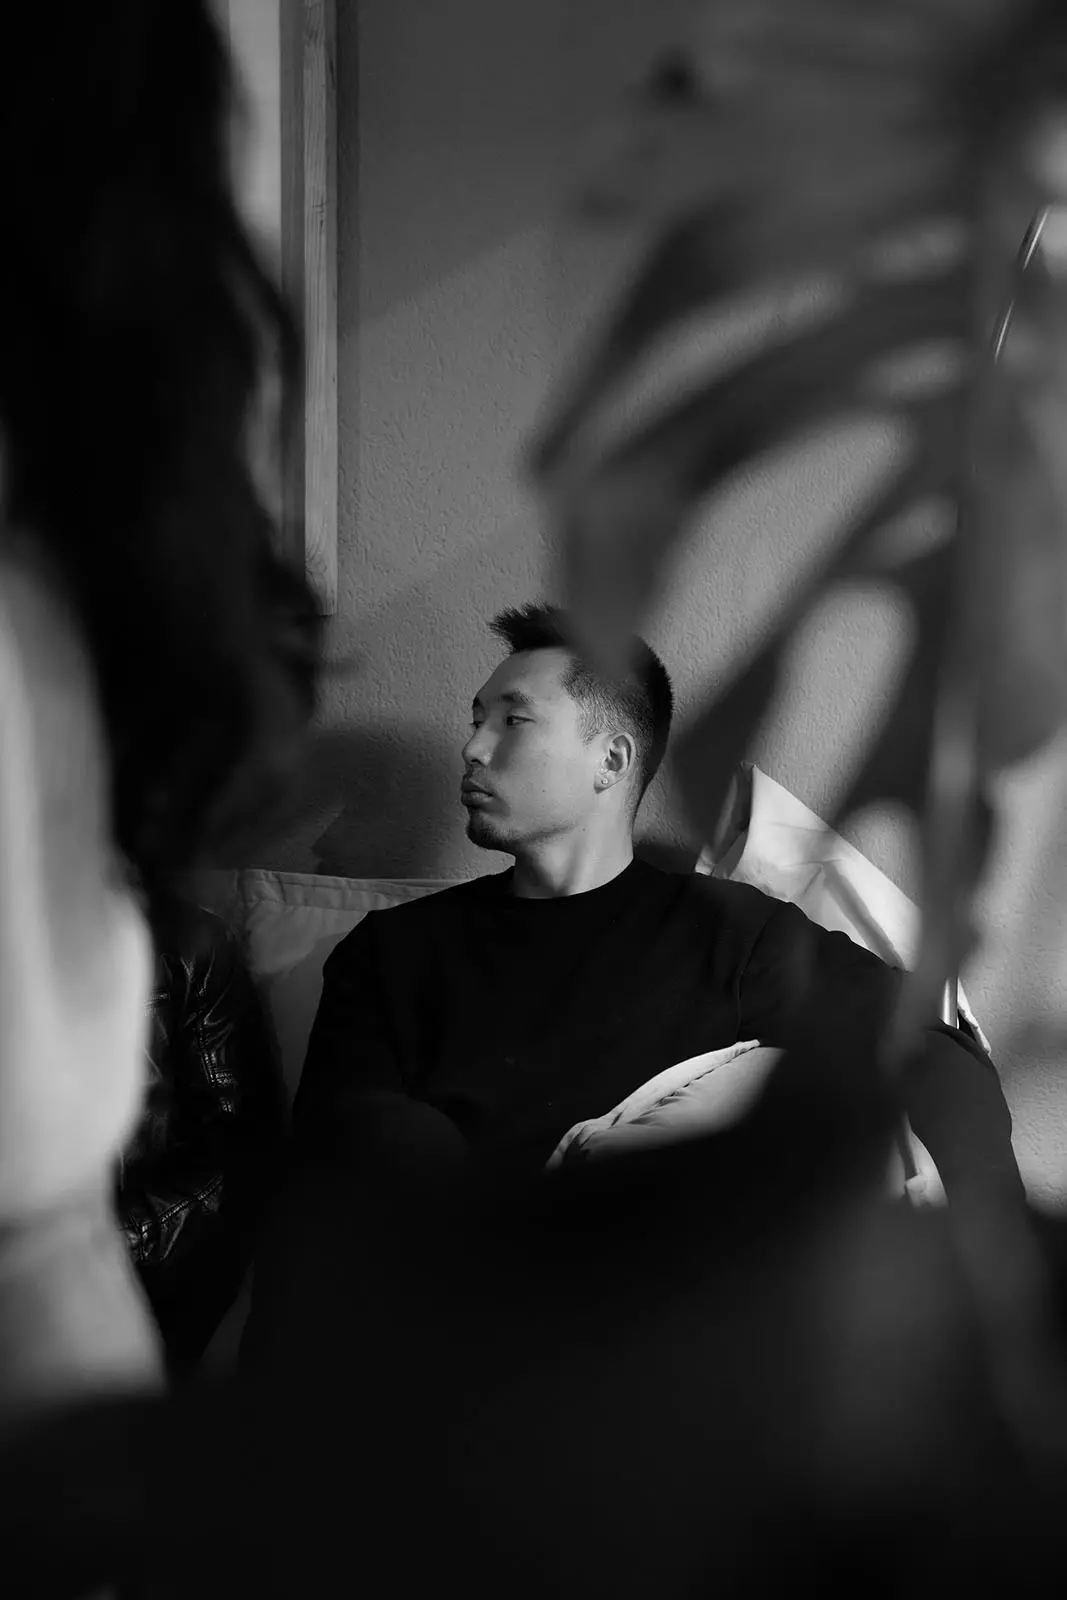
Il est intéressant de noter que ce flux de travail a ouvert une nouvelle voie : les clients demandent spécifiquement des photos en noir et blanc pour des événements et des portraits. Le noir et blanc est intemporel. Parfois, elle transmet des émotions d’une manière totalement différente de celle de la couleur, car l’œil du spectateur est attiré par différents points focaux - expressions, gestes, composition - plutôt que d’être distrait par ce que quelqu’un porte ou la couleur des murs.
Ce flux de travail n’est pas parfait pour tout. C’est dans la photographie de paysage que les choses se compliquent, surtout avec des objectifs grand angle comme mon 24 mm et des paysages lointains.
Pourquoi? Parce que c’est souvent la couleur dans les paysages. Le bleu du ciel, le vert de l’herbe, ces tons dorés de l’heure. Lorsque vous photographiez en noir et blanc, vous faites des suppositions éclairées sur la façon dont ces couleurs se traduiront plus tard.
Cela dit, avec les fonctionnalités modernes d’étalonnage des couleurs dans Lightroom et des outils tels que DaVinci Resolve pour la vidéo, il est facile de faire correspondre exactement les couleurs en post-production. Et si je suis sur un tournage commercial où les directeurs créatifs ont besoin de voir les résultats immédiatement, je peux toujours faire un montage rapide à partir d’une capture connectée pour leur montrer des couleurs précises.
Pour la photographie de produits avec des couleurs de marque spécifiques, je travaille parfois en mode attaché, avec un aperçu des couleurs sur un écran plus grand tout en gardant le viseur de mon appareil photo en noir et blanc pour la composition.
C’est difficile à dire objectivement. Mais voici ce que je sais :
Est-ce que je recommanderais ce flux de travail à d’autres photographes ? Honnêtement, probablement seulement si vous avez des problèmes de vision des couleurs comme moi. Si vous pouvez voir les couleurs avec précision, c’est un super pouvoir que vous devriez utiliser. Mais si vous êtes daltonien ou si vous avez une déficience de la vision des couleurs, cela vaut peut-être la peine d’essayer.
Je crée également des photographies d’art de la Suisse et de mes voyages à l’étranger. Pour ces projets artistiques et personnels, il m’arrive de ne jamais convertir les images en couleur. La version en noir et blanc fonctionne parfaitement pour ce que je veux réaliser : l’ambiance, l’émotion, l’intemporalité.
Lorsque je livre des galeries de clients, s’il y a des images qui fonctionnent particulièrement bien en noir et blanc, je les édite en couleur et en noir et blanc et je les inclus avec les photos en couleur. Les clients apprécient d’avoir le choix.
Et honnêtement ? Photographier de cette façon m’a appris à voir la lumière différemment. Pas de couleur, mais de lumière. Où il tombe, comment il façonne les sujets et le contraste qu’il crée. À mon avis, c’est en grande partie ce dont il s’agit en grande partie en photographie.
Je suis tombé sur ce flux de travail il y a environ trois ans lors d’un tournage sur le thème du disco. Le mode viseur noir et blanc que j’utilisais occasionnellement pour les situations de faible luminosité a soudainement pris tout son sens en tant que flux de travail permanent.
Mon daltonisme aurait pu être une énorme limitation. Au lieu de cela, cela m’a forcé à développer un flux de travail qui me rend plus précis, plus concentré et, je dirais, plus intentionnel sur la composition et la lumière.
Votre limitation pourrait être votre superpouvoir. Vous devez trouver comment travailler avec lui plutôt que contre lui.
Et si vous êtes un photographe avec une déficience de la vision des couleurs qui lit ceci, vous n’êtes pas seul, et il existe des solutions de contournement qui fonctionnent réellement.
Prenez contact avec nous pour discuter de vos besoins en matière de photographie.

Great images begin with intent. Strip away colour and you reveal form, light, and emotion. Keep the...

High-quality images are essential in today’s social media and online presence. To help you understan...

In today’s competitive business world, standing out from the crowd is essential, and one way to do t...